
New Batches
Upcoming Batches Why Choose Onclick Digital Marketing Academy Onclick Digital Marketing Is Best Digital Marketing Training Institute In Hyderabad With 100% Placement Assistance 9+ Years
Creating an online store is one of the most effective ways for businesses to reach customers, sell products, and build a digital presence. With WordPress, WooCommerce, and Elementor, you can create a professional e-commerce website without needing advanced coding knowledge.If you are a beginner, entrepreneur, digital marketing student, or aspiring web designer, learning the steps to create an e-commerce website in Elementor can give you a valuable practical skill.In this guide, we will walk through the complete process, from purchasing a domain and hosting to setting up WooCommerce, designing pages with Elementor, configuring payments and shipping, optimizing the website for SEO, and launching your online store.
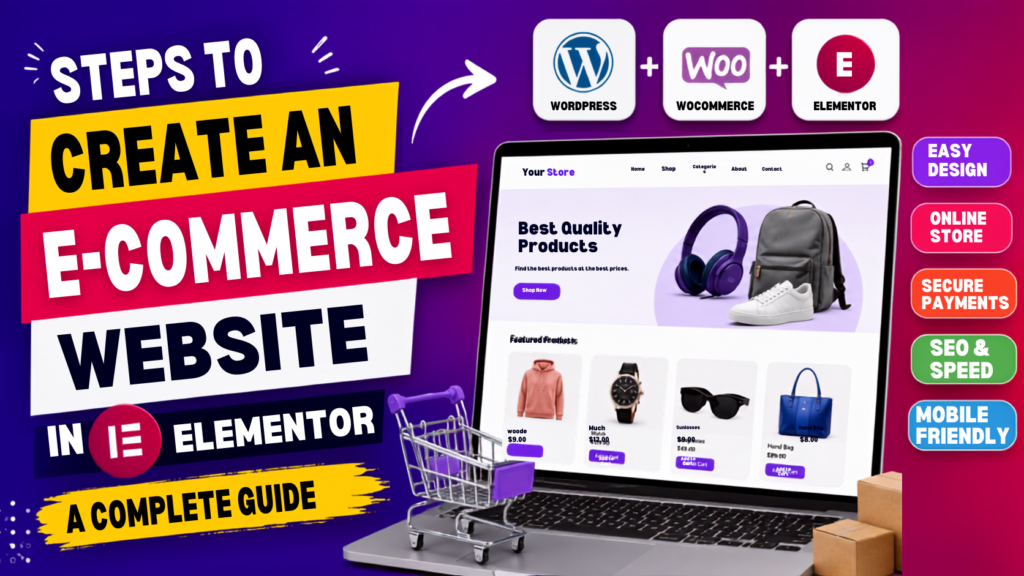
Elementor is a visual drag and drop page builder for WordPress. It allows users to create and customize website pages visually rather than writing extensive HTML or CSS code.
Using Elementor, you can add and customize elements such as:
Elementor is available in free and paid versions. Elementor Pro provides additional design and website-building capabilities, including advanced WooCommerce-related customization options.For someone learning how to build an online store with Elementor, the visual editing interface makes it easier to understand how different website sections work.
There are several reasons businesses and beginners choose Elementor for e-commerce website design.
Elementor uses a drag-and-drop interface, allowing you to see design changes while building the page.
You can customize colors, typography, spacing, layouts, buttons, images, and other visual elements.
WooCommerce handles the core e-commerce functionality, while Elementor can help you create attractive layouts and customize supported store components.
Elementor provides responsive controls that allow you to adjust layouts for desktop, tablet, and mobile devices.
Instead of building every component from scratch with code, you can use pre-designed templates and widgets.
With proper planning, Elementor can help you create a visually appealing WordPress e-commerce website that provides a better user experience.
Before starting your Elementor e-commerce website, prepare the following:
Once these requirements are ready, you can begin building your online store.
The first step is choosing a suitable domain name for your online store.
Ideally, your domain should be:
Next, select reliable web hosting. When choosing hosting for an e-commerce website, consider performance, security, backups, scalability, customer support, and WordPress compatibility.
A slow or unreliable server can negatively affect the shopping experience, so hosting should not be selected based only on price.
After purchasing hosting, install WordPress.
Many hosting providers offer an automated WordPress installation process. Once WordPress is installed, log in to the WordPress dashboard.
The dashboard is where you will manage:
Your WordPress installation becomes the foundation for the WordPress online store.
WooCommerce provides the core e-commerce functionality.
From your WordPress dashboard, go to Plugins → Add New, search for WooCommerce, and install and activate it.
During the initial setup, configure important store details such as:
WooCommerce creates essential store pages such as the shop, cart, checkout, and account-related pages.
Spend time configuring these settings correctly before adding products.
Next, install Elementor from the WordPress plugin section.
After activation, Elementor becomes available when editing compatible pages.
You can create a page and select Edit with Elementor to open the visual editor.
The editor allows you to add sections, containers, widgets, images, headings, buttons, and other design components.
This is where the visual part of your Elementor WooCommerce website begins.
Choose a lightweight, responsive, WooCommerce-compatible WordPress theme.
A good theme should provide:
Avoid choosing a theme only because it has attractive demo designs. Check whether it performs well and supports the features your store actually requires.
Your homepage is one of the most important pages on your e-commerce website.
A typical homepage can contain the following sections:
Include:
Use a strong headline explaining what your business offers.
For example:
“Discover Premium Fashion for Every Occasion.”
Add a relevant image and a clear CTA such as Shop Now.
Display major categories so visitors can quickly find what they need.
Highlight popular, new, or promotional products.
Show reasons customers should purchase from you, such as:
Customer reviews can increase trust and credibility.
Highlight seasonal offers, discounts, or new collections.
Include important links such as:
Product pages are where customers make purchasing decisions.
A good product page should provide all important information clearly.
Include:
For example, if you sell shoes, customers may need to select size and color before adding an item to the cart.
Use clear product photography and informative descriptions rather than relying only on decorative design.
The shop page displays your products in a structured layout.
An effective shop page should make it easy for visitors to:
You can use Elementor and compatible WooCommerce tools to improve the visual presentation of product listings.
Keep the product grid clean and avoid overcrowding the page with unnecessary elements.
The cart and checkout are critical stages in the customer journey.
Your shopping cart page should clearly display:
The checkout page should be simple and distraction-free.
Include:
A complicated checkout process can cause customers to abandon their purchases.
Customers need a secure way to pay for their purchases.
Depending on your target market, you may offer payment methods such as:
Payment gateway availability and requirements vary by country and provider.
Before launching, perform test transactions to ensure payments, order creation, confirmation messages, and notifications work correctly.
WooCommerce allows you to configure different shipping methods.
You can create shipping zones based on geographic regions and configure options such as:
Clearly communicate shipping costs and estimated delivery times.
Unexpected shipping charges appearing at checkout can negatively affect conversions.
A large portion of online shopping happens through smartphones, so your website must work properly on smaller screens.
Elementor provides responsive design controls for different devices.
Check:
Always test the actual website on different devices rather than relying only on the editor preview.
Depending on your business, consider adding useful features such as:
However, avoid installing unnecessary plugins.
Every additional plugin can introduce maintenance, compatibility, performance, or security considerations.
SEO helps search engines understand your website and can help potential customers discover your products.
Important e-commerce SEO practices include:
Use short and descriptive URLs.
Create unique metadata for important pages and products.
Write original, useful descriptions instead of copying manufacturer content.
Use descriptive alt text where appropriate to help search engines and accessibility tools understand images.
Link related products, categories, guides, and other useful pages.
Use appropriate structured data so search engines can better understand product information.
Create useful category pages with descriptive content and logical organization.
Ensure important pages are discoverable through your site’s sitemap.
Make sure pages are usable on mobile devices.
SEO should be considered during WooCommerce website development, not added as an afterthought.
Website performance can affect user experience, conversions, and search visibility.
Consider:
Do not add performance plugins blindly. Test your website before and after making major optimization changes.
Before launching your online store, conduct a complete test.
A successful test purchase is especially important before accepting real customer orders.
Once testing is complete, your store can be launched.
However, website development does not end at launch.
Regularly:
Use analytics and conversion data to identify pages where customers are leaving and make improvements based on evidence.
Beginners often make mistakes that can negatively affect website performance and sales.
Install only the plugins you actually need.
Low-quality images can reduce customer confidence.
Cheap or unsuitable hosting can create performance problems.
Keep checkout as simple as possible.
Always design and test for mobile devices.
Explain product benefits, features, specifications, and usage clearly.
Customers should be able to find products quickly.
Include reviews, secure payment information, return policies, and contact information.
Never assume that a payment gateway works correctly without testing it.
A visually attractive store still needs proper SEO to attract organic traffic.
Keep WordPress, themes, plugins, and security systems updated.
|
Factor |
Elementor-Based Website |
Traditional Custom Development |
|
Ease of use |
Beginner-friendly |
Usually requires technical expertise |
|
Design |
Visual customization |
Highly customizable through code |
|
Development time |
Often faster |
Usually longer |
|
Coding requirement |
Low for many common tasks |
Generally higher |
|
Cost |
Can be relatively affordable |
Can be significantly higher |
|
Customization |
High within platform capabilities |
Very high |
|
Maintenance |
WordPress/plugin maintenance required |
Custom maintenance required |
|
Scalability |
Suitable for many small and medium stores |
Useful for highly customized systems |
Elementor is particularly useful when you want to create a professional online store without building every component from scratch.
There is no single fixed cost for creating an Elementor online store.
The overall cost can include:
A small store can require fewer tools, while a larger business may need advanced filtering, integrations, automation, CRM connectivity, custom functionality, and additional development.
Therefore, estimate your budget according to your business requirements rather than choosing tools solely based on price.
Building an online store is only the beginning. Your website also needs to encourage visitors to purchase.
Follow these best practices:
Focus on the customer journey from the moment someone lands on your homepage until they complete their purchase.

Upcoming Batches Why Choose Onclick Digital Marketing Academy Onclick Digital Marketing Is Best Digital Marketing Training Institute In Hyderabad With 100% Placement Assistance 9+ Years
Privacy Policy Welcome to Onclick Digital Marketing Academy. We value your privacy and are committed to protecting the personal information you share with us. This
Terms & Conditions Welcome to Onclick Digital Marketing Academy. By accessing our website, submitting an enquiry, enrolling in any of our training programs, or using
Loading… ISO Certification We Are Providing ISO Certification For Our Students. 15000+ Students We bring the right people together to challenge established thinking Accredited &
Loading… ISO Certification We Are Providing ISO Certification For Our Students. 15000+ Students We bring the right people together to challenge established thinking Accredited &
Master Digital Marketing Learn Industry-Ready Skills. Get Certified. Launch Your Career with Practical Training. Expert Trainers Learn from Industry Experts 100% Placement Assistance Explore Courses
Whatsapp Us Call : 9346775340 Get Brochure 2026 Curriculum AI Powered Become Job Ready with AI Powered Digital Marketing Course Join Hyderabad’s most trusted digital
Whatsapp Us Call : 9985023500 Get Brochure 2026 Curriculum AI Powered Become Job Ready with AI Powered Digital Marketing Course Join Hyderabad’s most trusted digital
Whatsapp Us Call : 9985023500 Enquiry Now #1 Digital Marketing Institute in Hyderabad Launch Your Digital Marketing Career with Performance Marketing, Real-Time Projects & 100%
Whatsapp Us Call : 9985023500 #1 Digital Marketing Institute in Hyderabad Launch Your Digital Career With Real-Time Projects & 100% Placement Assistance Master 15+ in-demand
Enroll Now Master Digital Marketing with AI & Build a Future-Proof Career Learn SEO, Google Ads, Social Media & AI Tools with Real-Time Projects +